Mailchimp
This help doc shows you how to use the AddEvent Add to Calendar Links App with Mailchimp.
Getting Started
To use the AddEvent Calendar Links app to add add to calendar links to your Mailchimp email, you will need to do the following:
- Create an AddEvent account
- Create your first event in AddEvent
- Connect your AddEvent account to your Mailchimp account
- Add the Add to Calendar links to your email
The sections below give detailed instructions on how to do each of these four steps. For more helpful content and to see a video on how this all works, check out our AddEvent + Mailchimp page.
How to create an AddEvent account
- Go to the AddEvent signup page
- Enter your details and click Continue
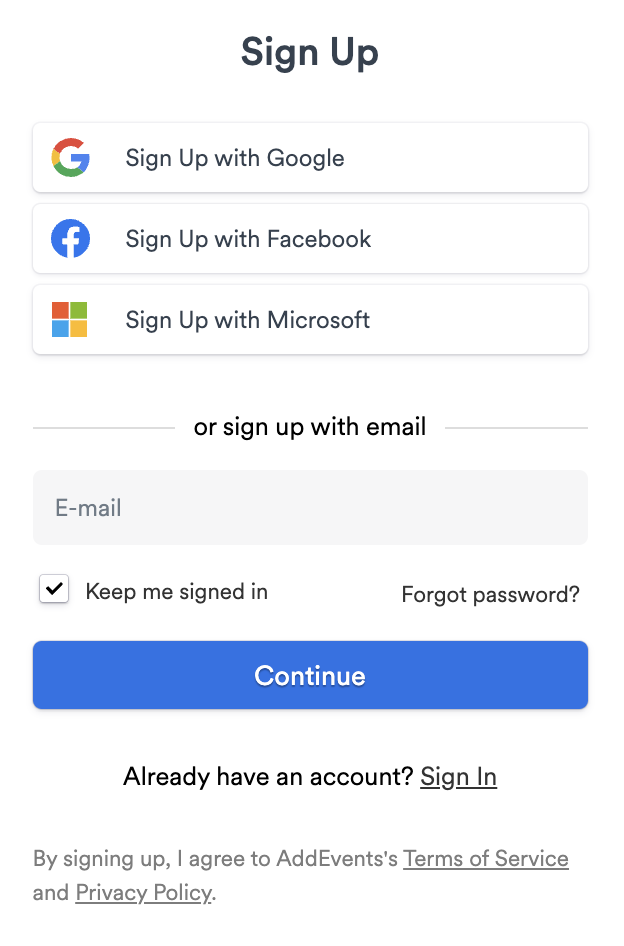
- Choose which of our plans suits your needs and click Proceed to payment or Continue. You can find more information about our plans on our plans and pricing page or a detailed comparison of the differences between our plans on the plan details page. Note that usage of the app is available on our free Hobby plan!
All done! Your AddEvent account is now created, and you will be redirected to the AddEvent dashboard, where you can create and manage your events and calendars that you want to share. Follow the steps in the section below for instructions on how to create an event.
How to create an event in AddEvent
- Create an account if you have not already done so or sign in to your account
- Go to the AddEvent dashboard
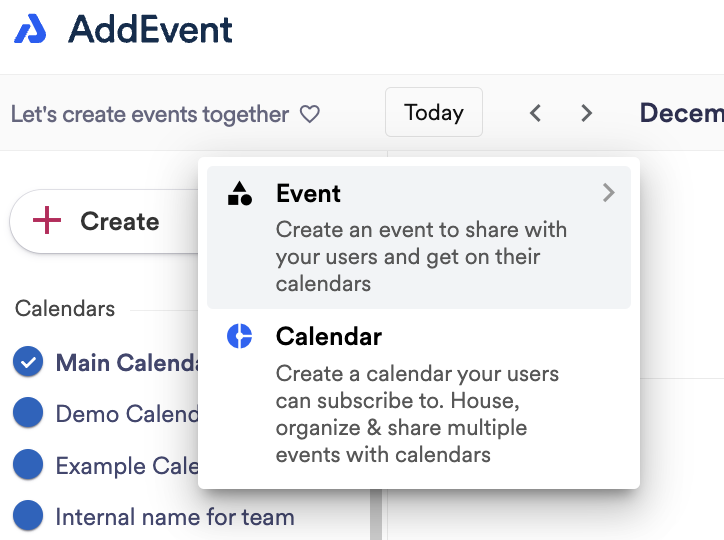
- Click Create in the top left-hand corner, and choose Event
- Enter your event details, including the event name, time and date, description, and location
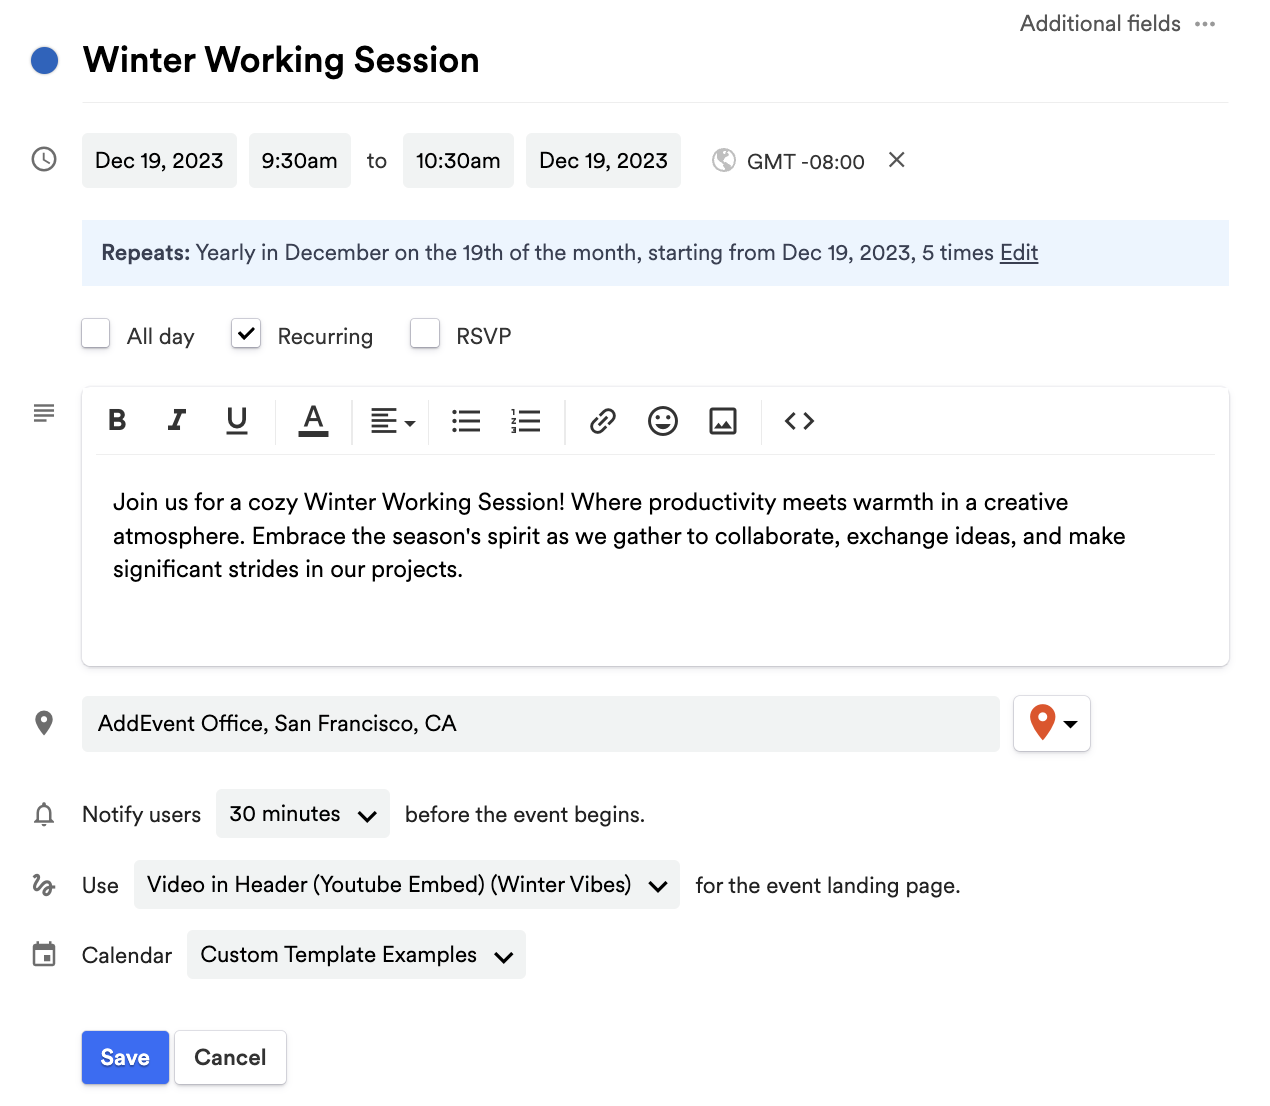
- Click Create
Your event is now created! Follow the steps below to connect your AddEvent account to your Mailchimp account and find out how to add an add to calendar links content block into your email using the AddEvent Calendar Links app.
How to connect your AddEvent account to your Mailchimp account
There are two ways to connect your AddEvent account to your Mailchimp account: from the AddEvent Calendar Links app page or from within Mailchimp’s new email builder.
From the AddEvent Calendar Links app page
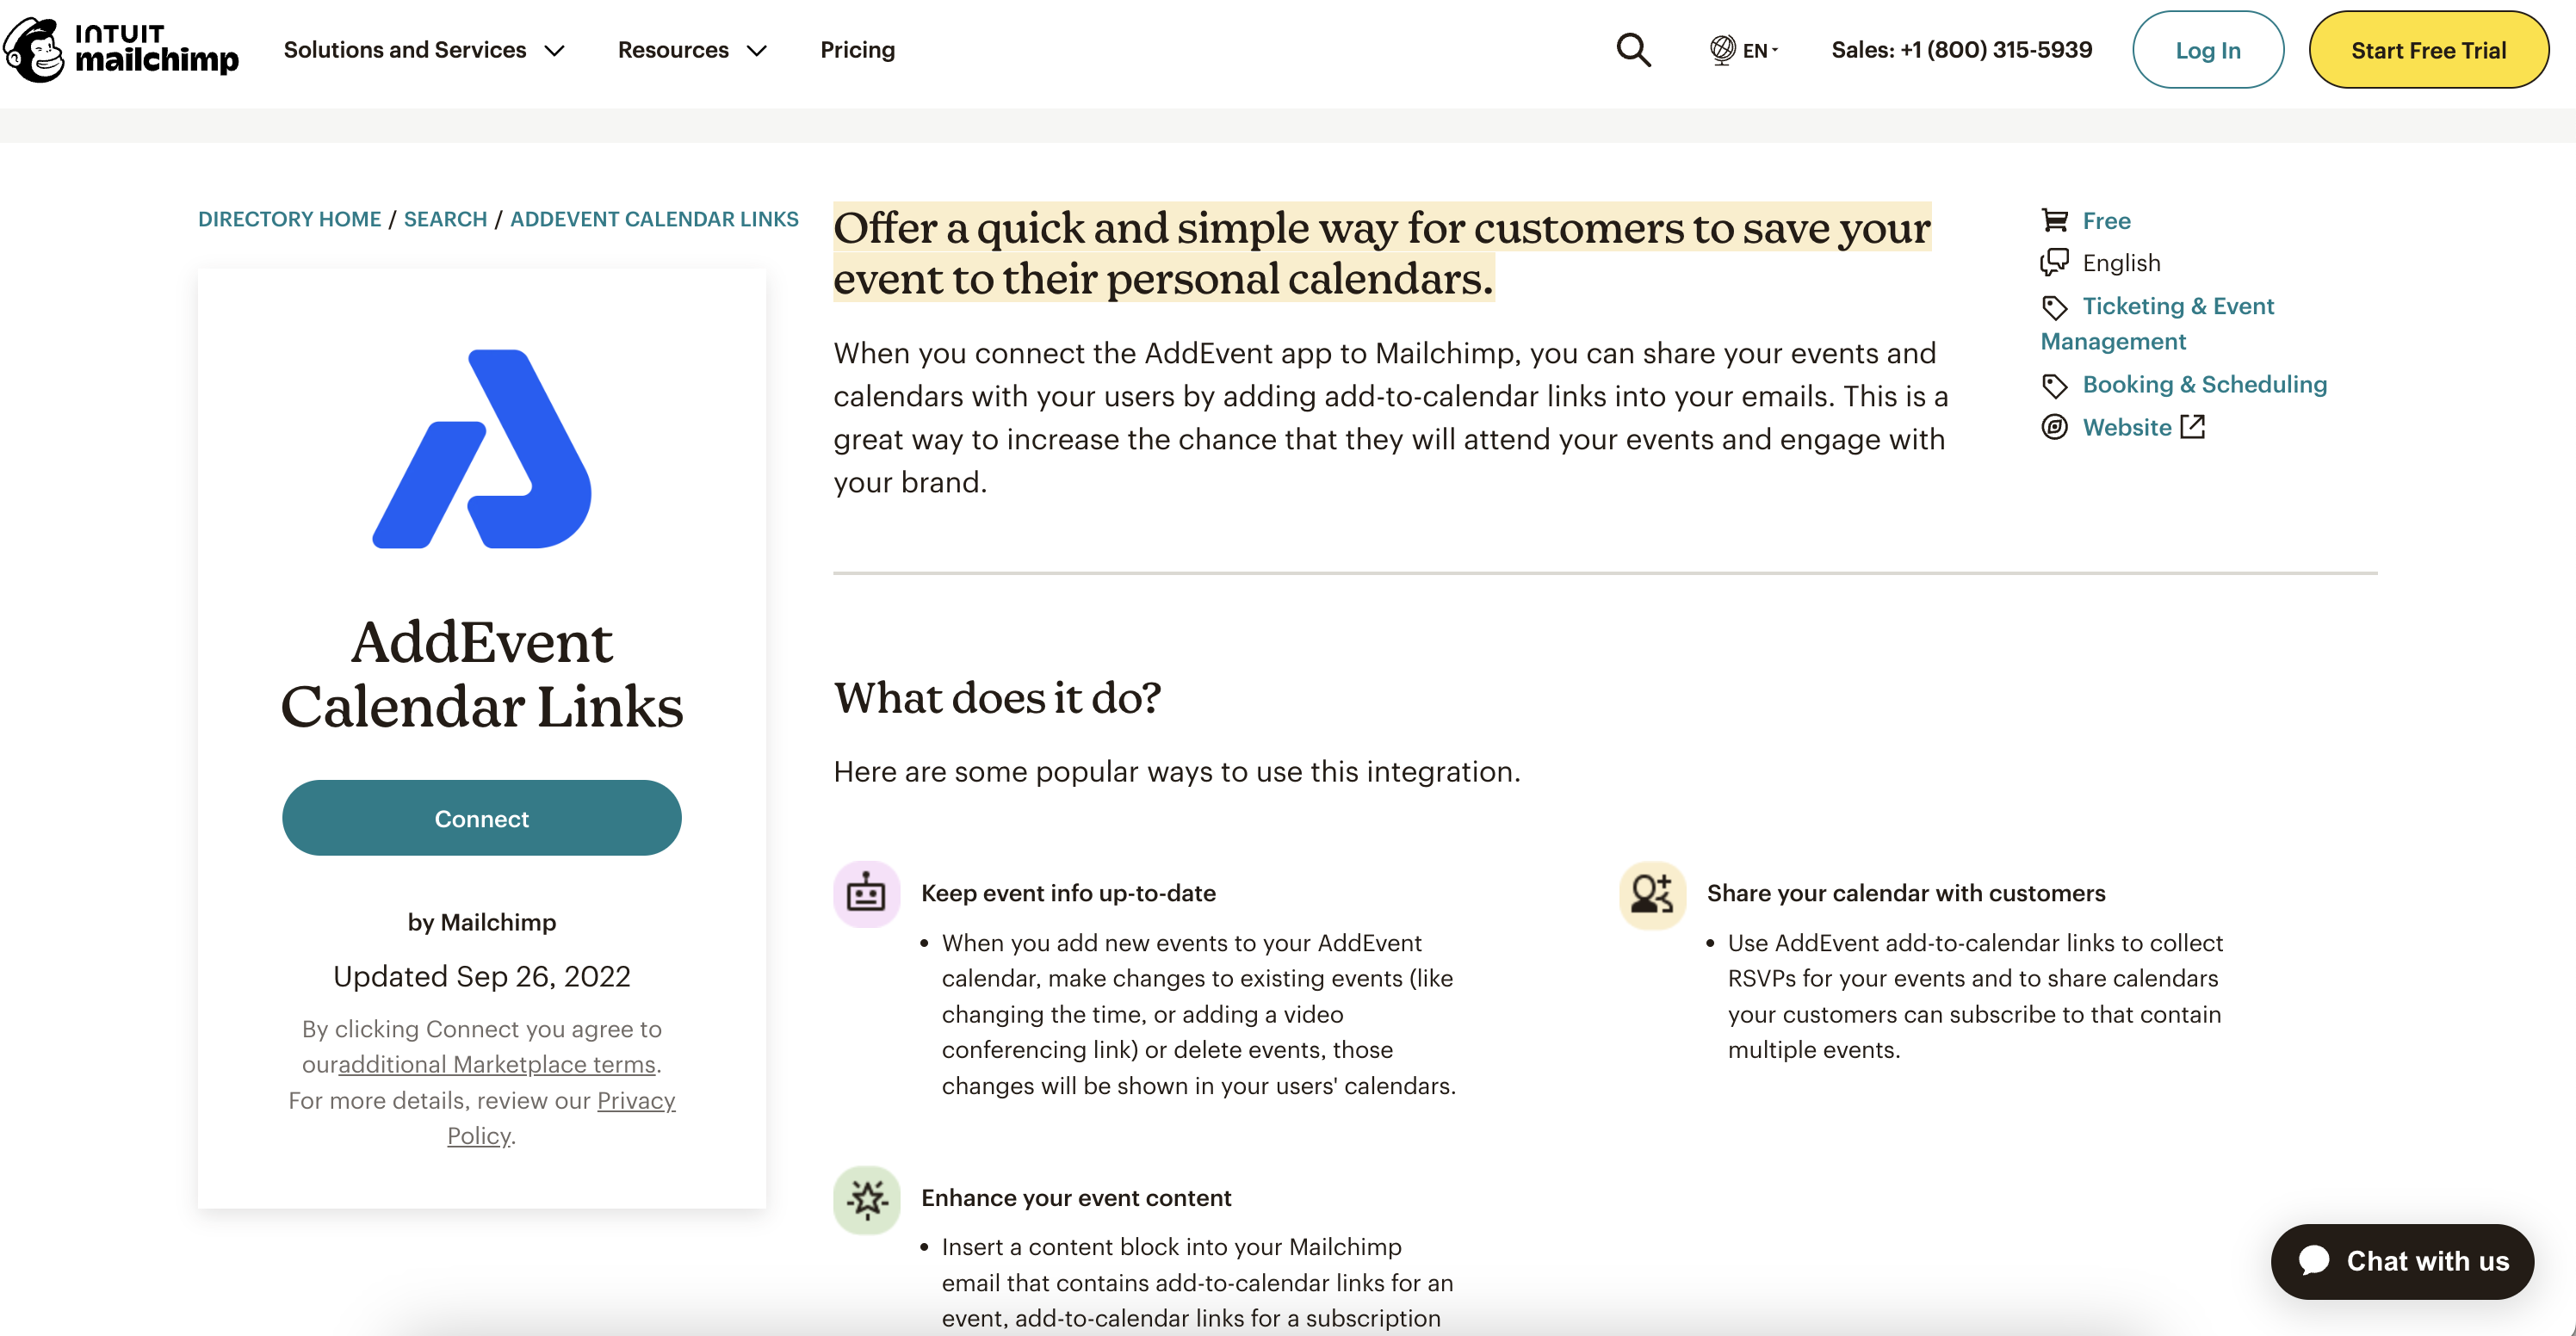
- Go to the AddEvent Calendar Links app page in the Mailchimp marketplace. If you are not already signed in to your Mailchimp account, you will need to enter your Mailchimp username and password to sign in.
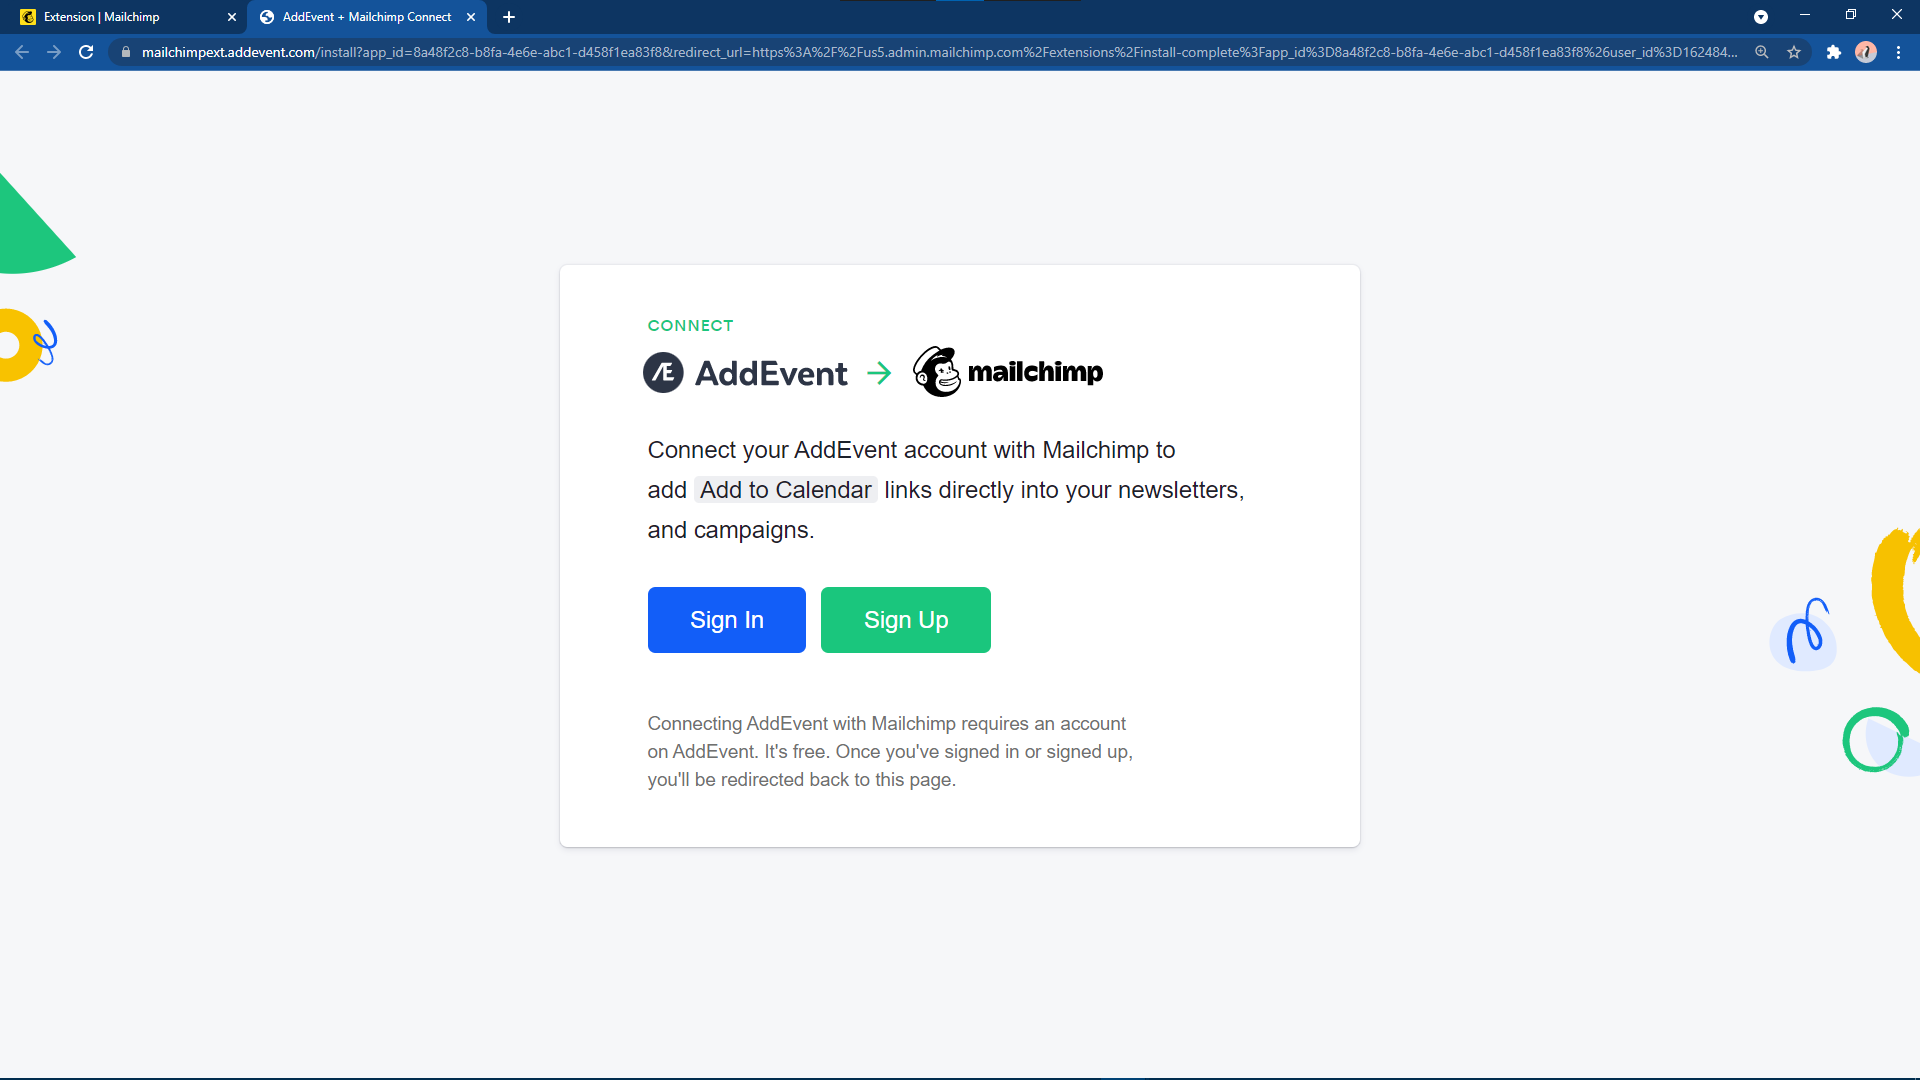
- Click Connect at the top of the page.

- Click Sign in to sign in to your existing AddEvent account. If you don't already have an AddEvent account, you can click Sign up and follow from step 2 in the How to create an AddEvent account section above.
- Enter your email address and password to sign in to your AddEvent account
- Once you have signed in or successfully created a new account, you will be shown a confirmation screen and automatically redirected back to Mailchimp
You’re good to go! Your AddEvent account is now connected to your Mailchimp account. You can now add a content block containing add to calendar links to your email using the AddEvent Calendar Links app.
From within the new email builder
-
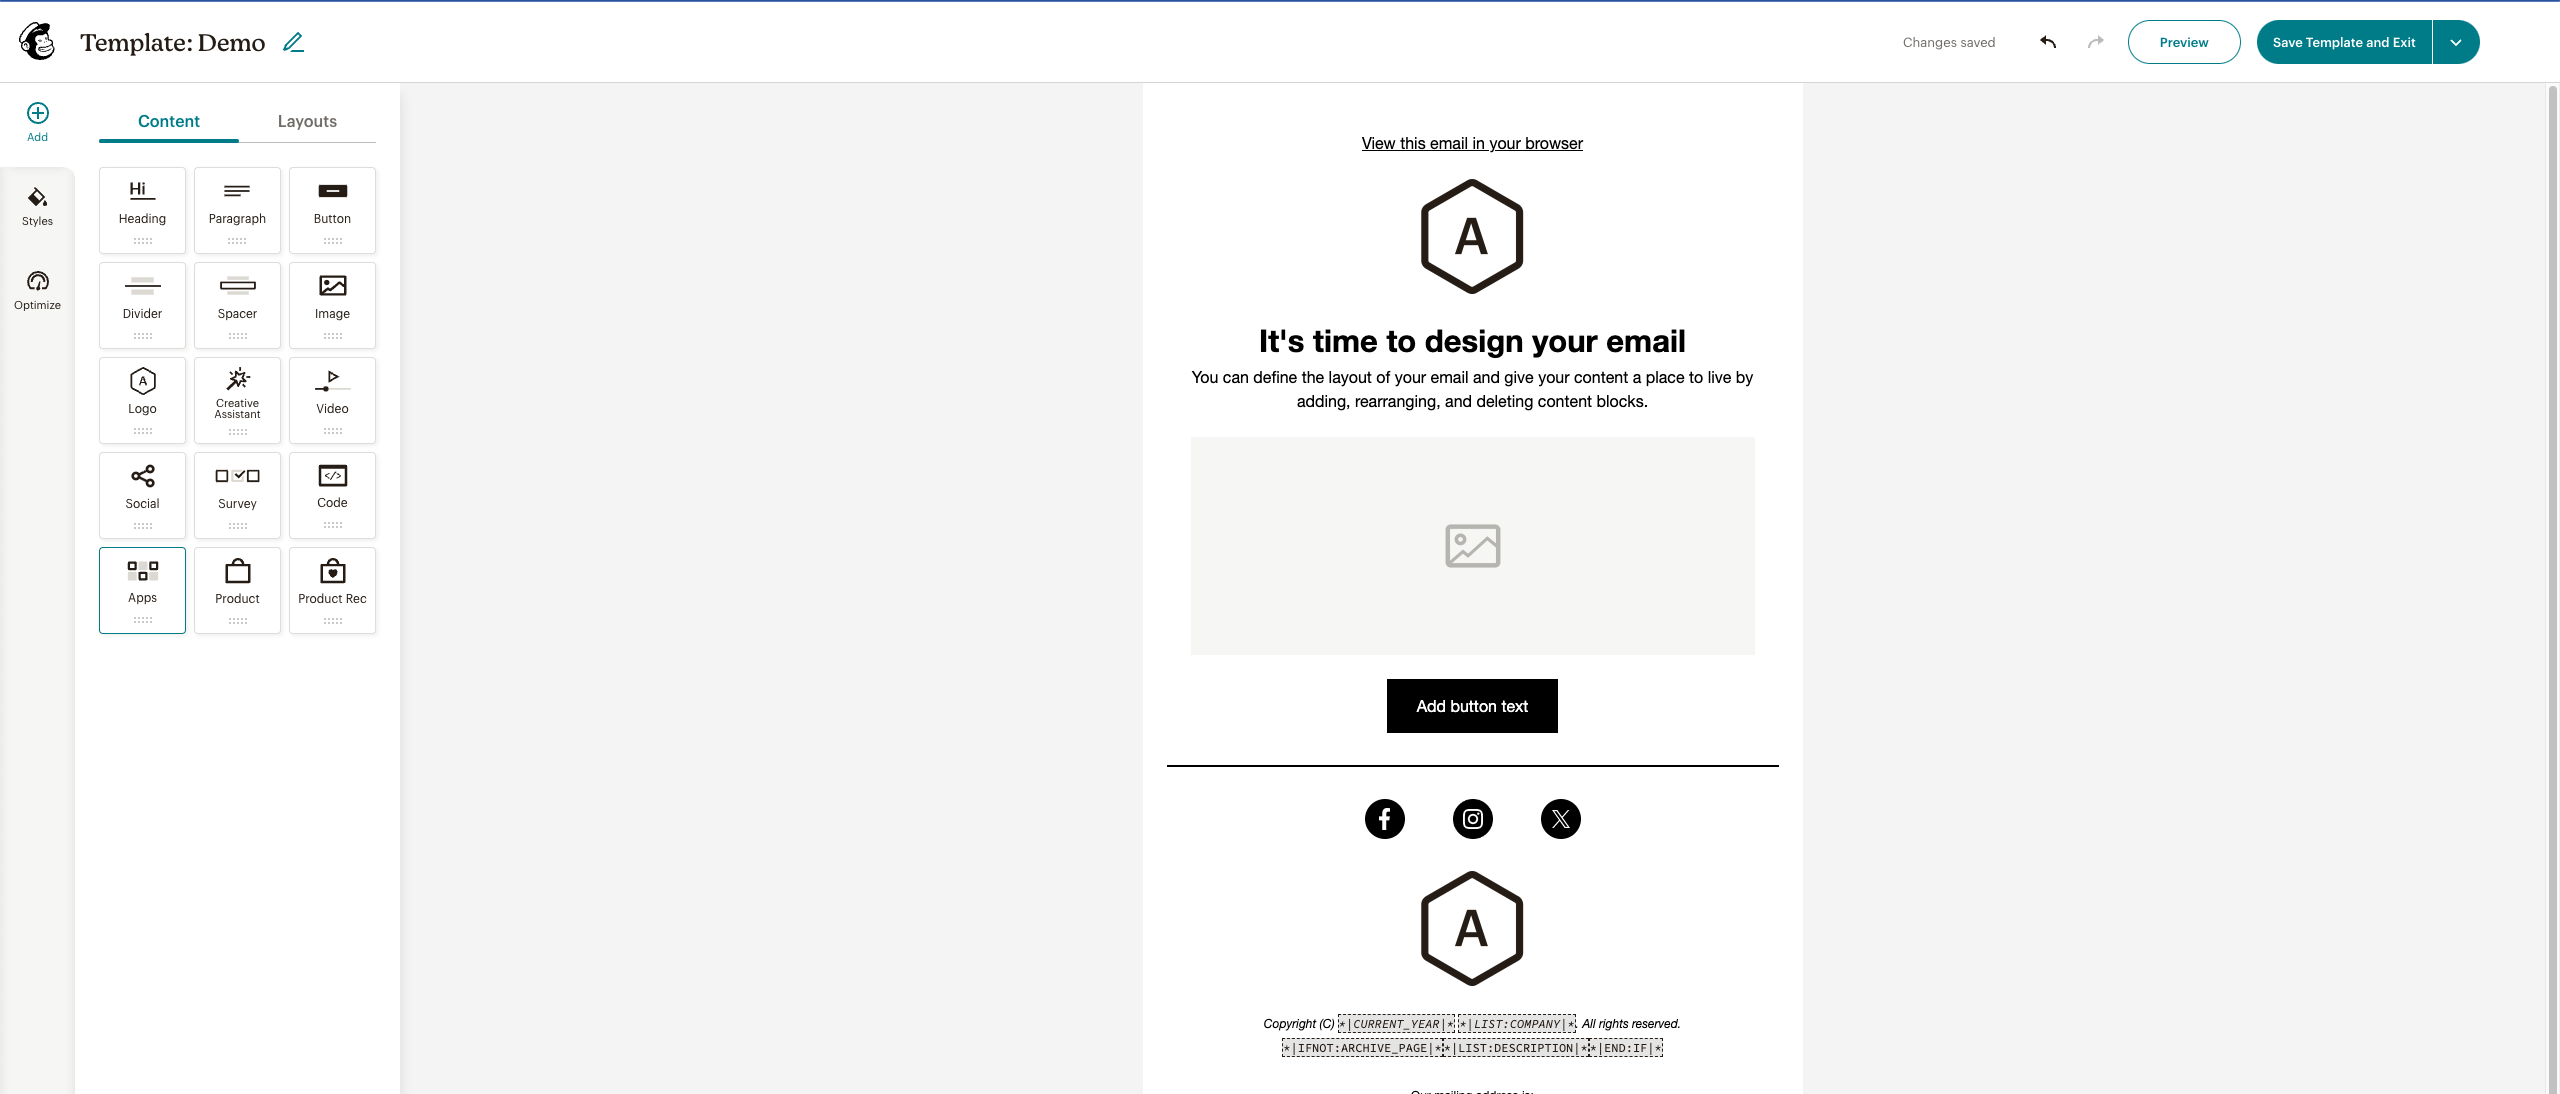
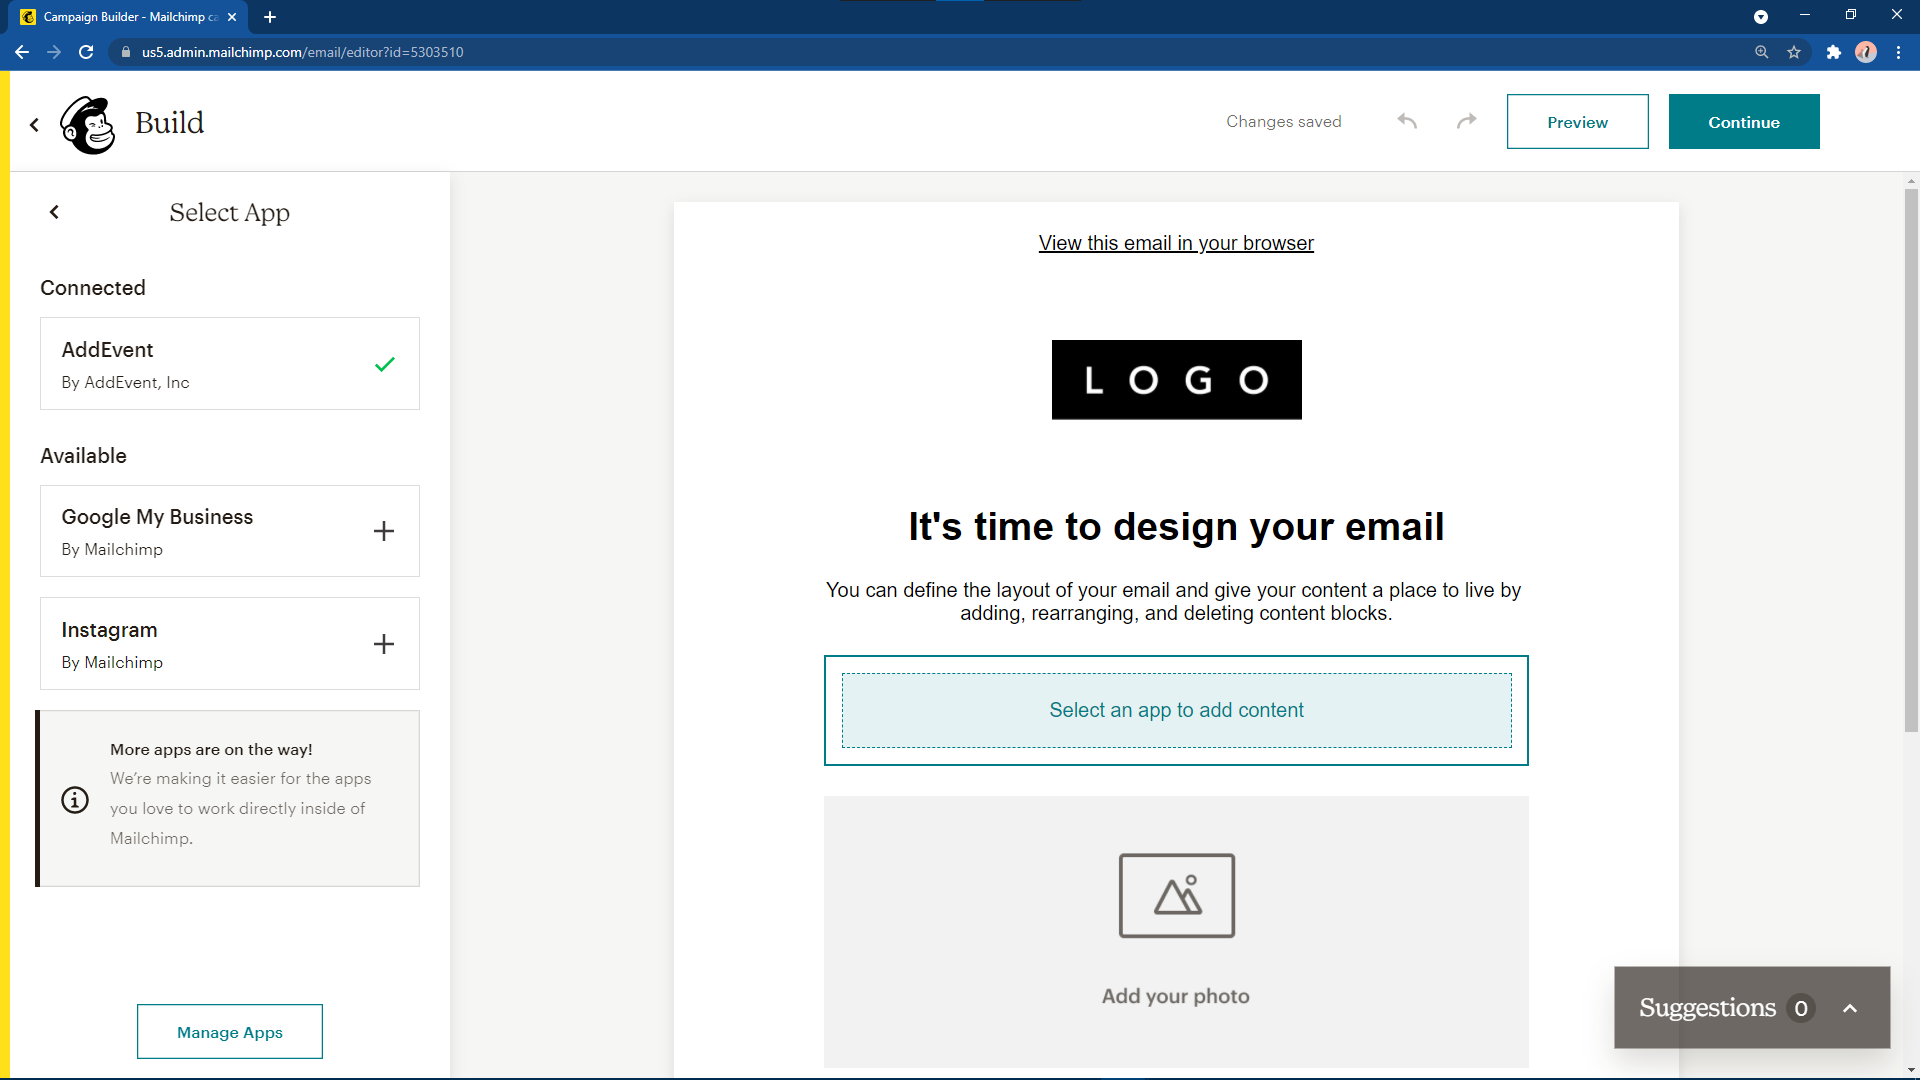
While editing a Mailchimp email in the new builder, drag the Apps block from the left side menu into the area you'd like to place the links
-
In the control panel on the left, click Connect next to AddEvent Calendar Links app.

- Click Sign in to sign in to your existing AddEvent account. If you don't already have an AddEvent account, you can click Sign up and follow from step 2 in the How to create an AddEvent account section above.
- Enter your email address and password to sign in to your AddEvent account
- Once you have signed in or successfully created a new account, you will be shown a confirmation screen and automatically redirected back to Mailchimp
You’re good to go! Your AddEvent account is now connected to your Mailchimp account. You can now add a content block containing Add to Calendar links to your email using the AddEvent Calendar Links app.
How to insert add to calendar links in your Mailchimp email
You will need to use the Mailchimp new email builder to use the AddEvent Calendar Links app. If you are using the classic email builder, you can still share your event using AddEvent’s Add to Calendar links by copying the Add to Calendar links from the AddEvent website.
- Create a new campaign in Mailchimp, or open an existing campaign that you want to add Add to Calendar links to. Click Edit next to the email content section.
- While editing a Mailchimp email in the new builder, drag the Apps block from the left side menu into the area you'd like to place the links
- Choose AddEvent Calendar Links from the control panel on the left. If you have not already connected your AddEvent account, you will see a Connect button shown. Follow the steps above in the How to connect your AddEvent account to your Mailchimp account > From within the new email builder to do that.
- Choose whether you want to share an event or a calendar. You can find more information about the differences between sharing an event, an RSVP event, and a calendar here.
- Choose which event or calendar you wish to share by selecting the calendar or event from the dropdowns. Note that you may need to refresh the page to view new events or calendars that you have just created in AddEvent. If you have just created an AddEvent account, you will not have any events already created. Go to your AddEvent dashboard to create your first event and follow the steps in the How to create an event in AddEvent section above.
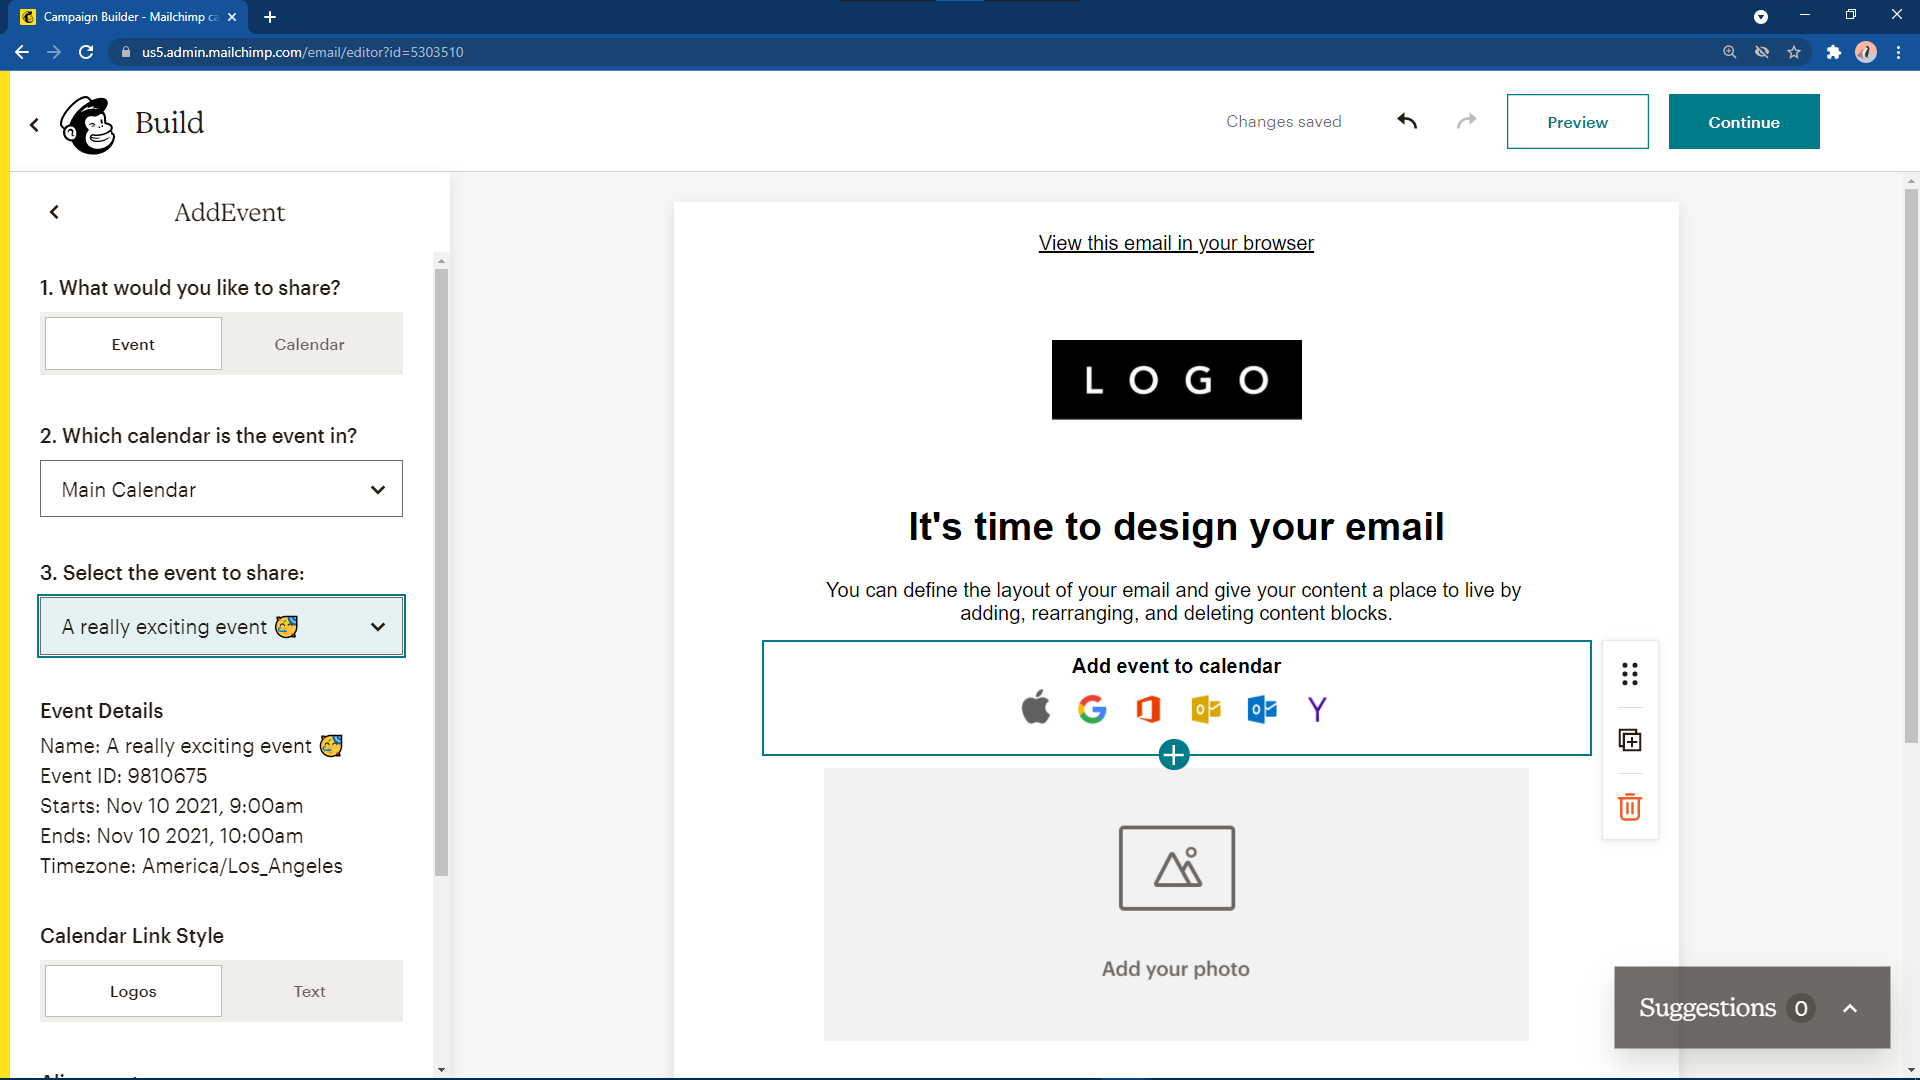
- You can also use the controls in the sidebar to customize the appearance of the Add to Calendar links content block.
That’s it! Your email is now ready to send. Make sure you test the add to calendar links before sending the email to your audience.
How to disconnect your AddEvent account from your Mailchimp account
- Go to the AddEvent Calendar Links app in the Mailchimp marketplace.
- Click the disconnect button at the top of the page.
Your accounts are now disconnected! To reconnect your accounts or to connect to a different AddEvent account, simply follow the steps in the How to connect your AddEvent account to your Mailchimp account section above.
Watch this tutorial!
Updated 3 months ago