Update an RSVP Event
This help doc explains how to edit existing RSVP events. Editing an event for which users have already RSVP’d will not affect their RSVP status. Even if you change the date of the event, our system will still count the RSVPs received before that change as valid. However, you may wish to email your users who have RSVP’d to notify them of the change.
Customize your existing RSVP event
From your Event page:
- Scroll down to the RSVP and settings section. Below is an overview of what you can customize on your existing RSVP event.
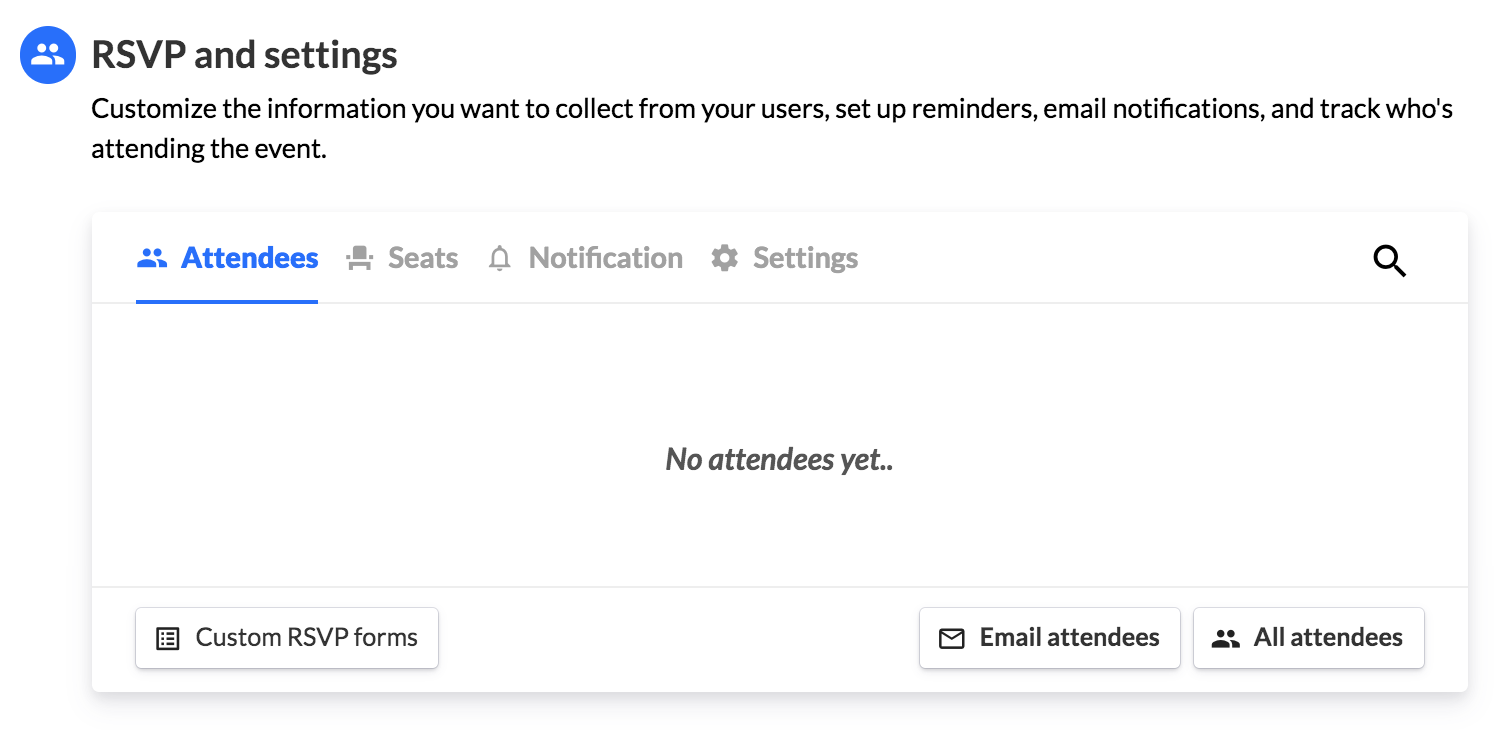
Attendees
This is where the details of your attendees will be shown with their name, email, and RSVP status (Going, Maybe, Can't go).
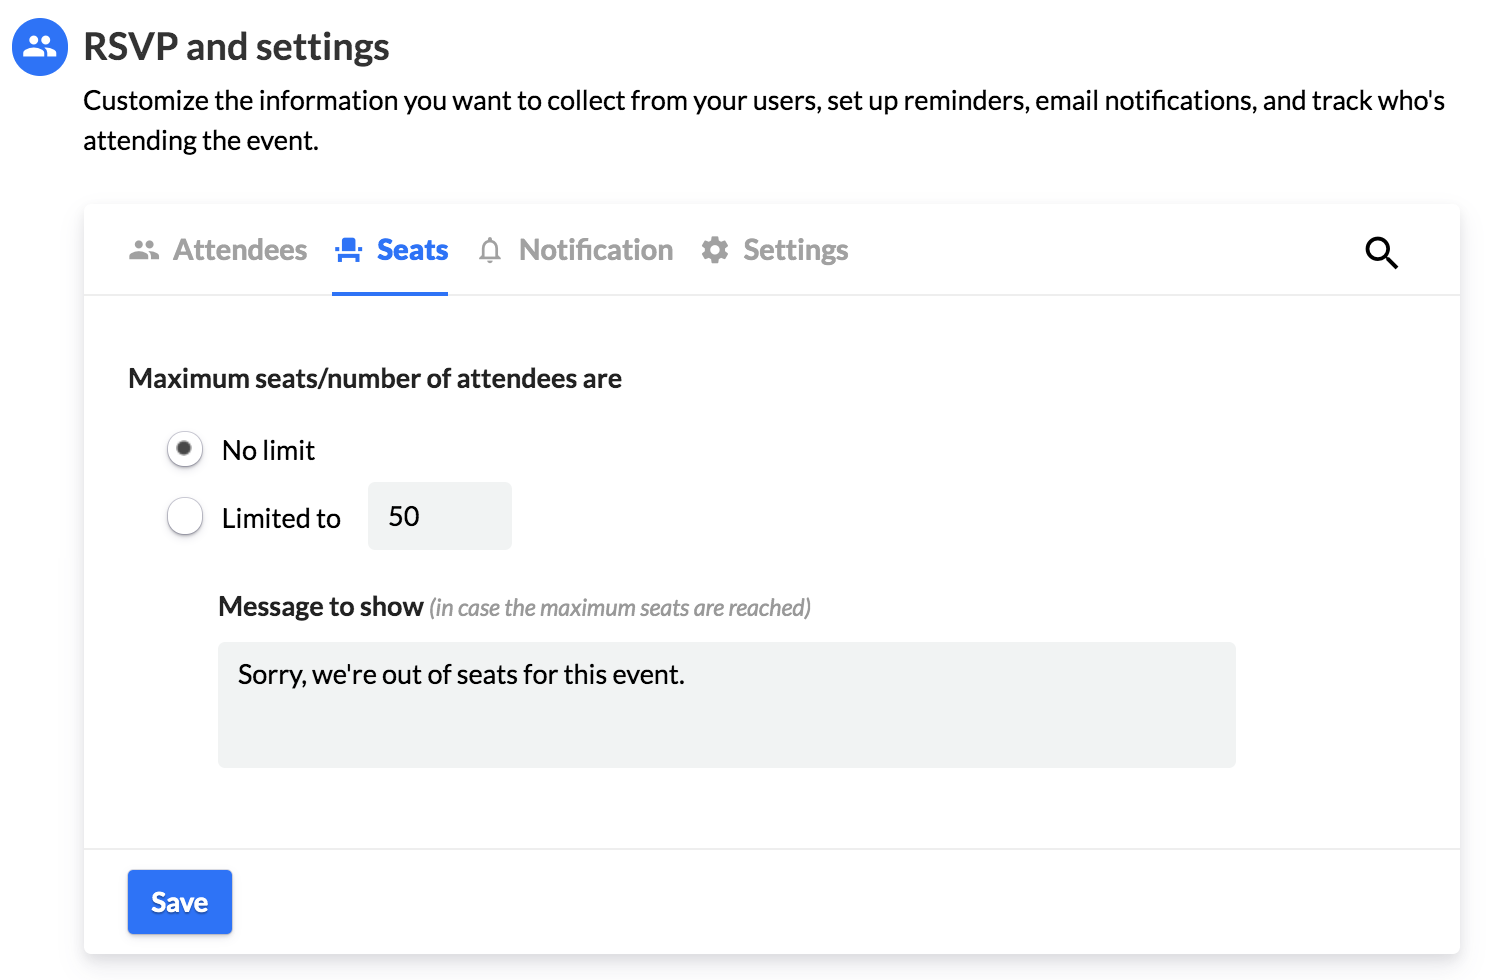
Seats
If the event needs to be limited to a maximum number of attendees, you can enable the Seat limit feature. You can adjust the maximum seats/number of attendees. If the maximum number of seats is reached, an automated message can be customized and shown to those who attempt to RSVP beyond the limit.
Notification
There are various options for the host to be notified about new RSVPs.

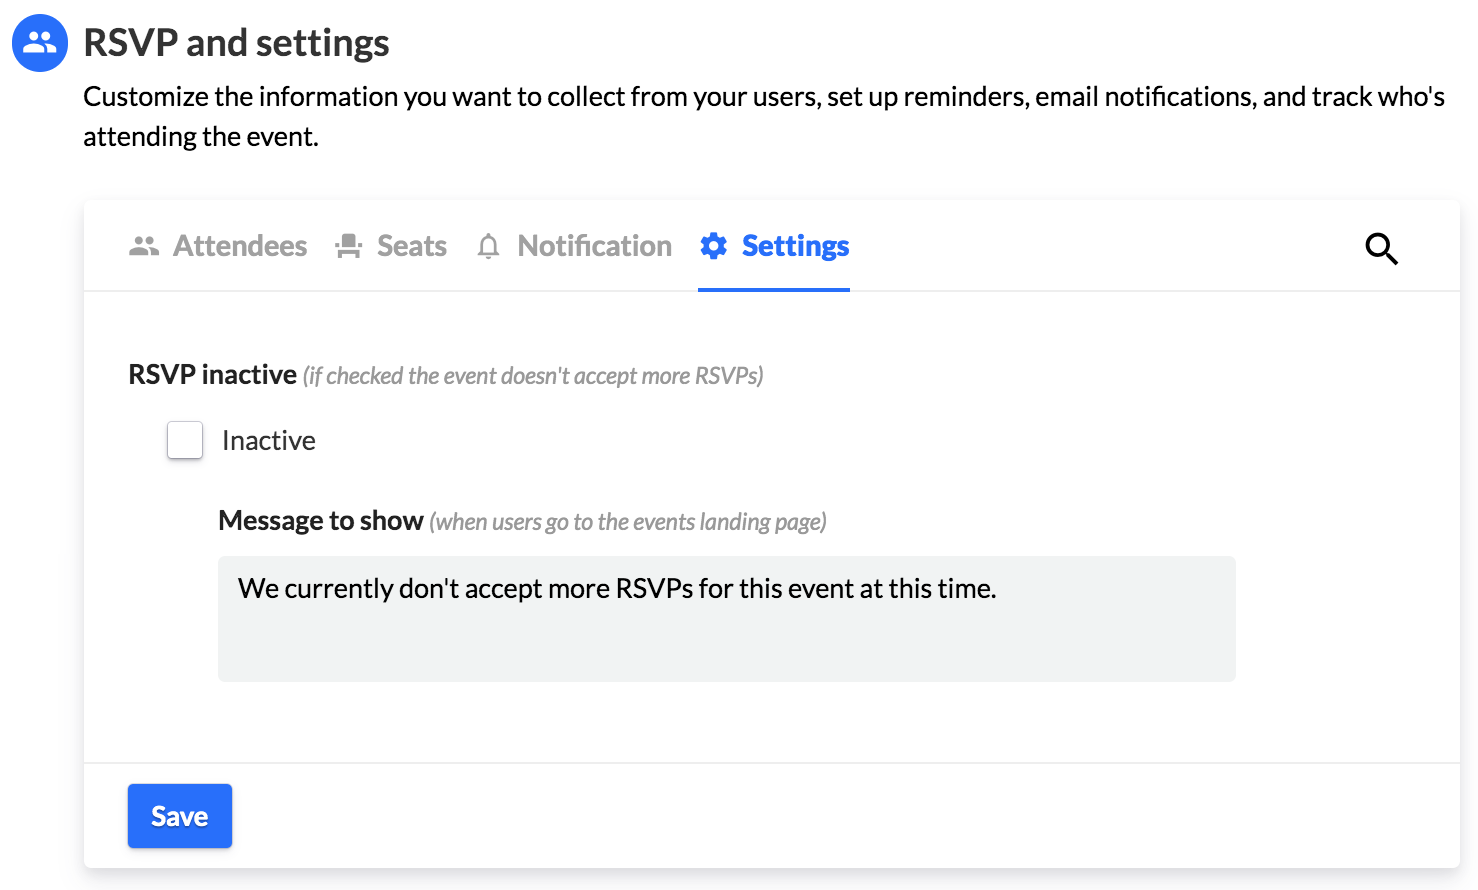
Settings
Make the event RSVP functionality "inactive" if you do not want to accept more RSVPs and customize a message shown on the event landing page.
You can also enable RSVP functionality for events that have already been created. Please note that users who have already added your event to their calendars will not be prompted to RSVP when you do this, so your RSVP list may not include all users who have added your event to their calendar.
Updated 5 months ago