Free or Busy
This help doc explains the steps on how you can mark your event as "free" or "busy" in your user's calendar.
Marking your event as "Free" or "Busy"
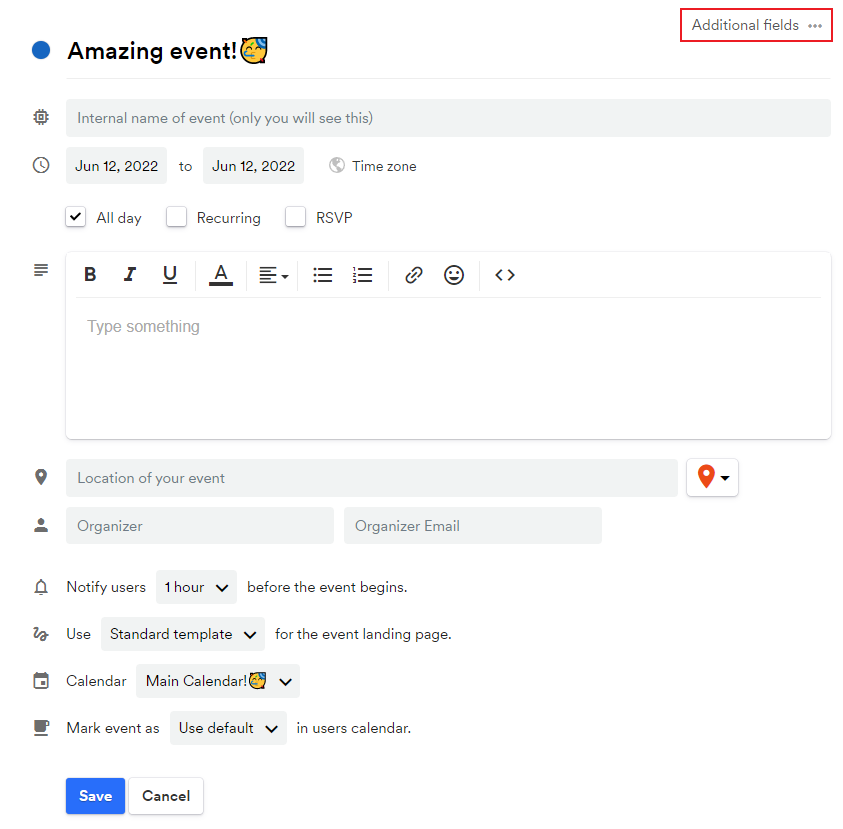
From the Event page:
- Go to the event and select the edit icon.
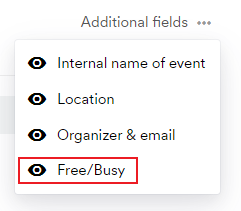
- Click Additional fields.
- Select Free/Busy from the drop-down box.
- A new section on your event's editing page will appear. Choose from Use default, Free, or Busy.
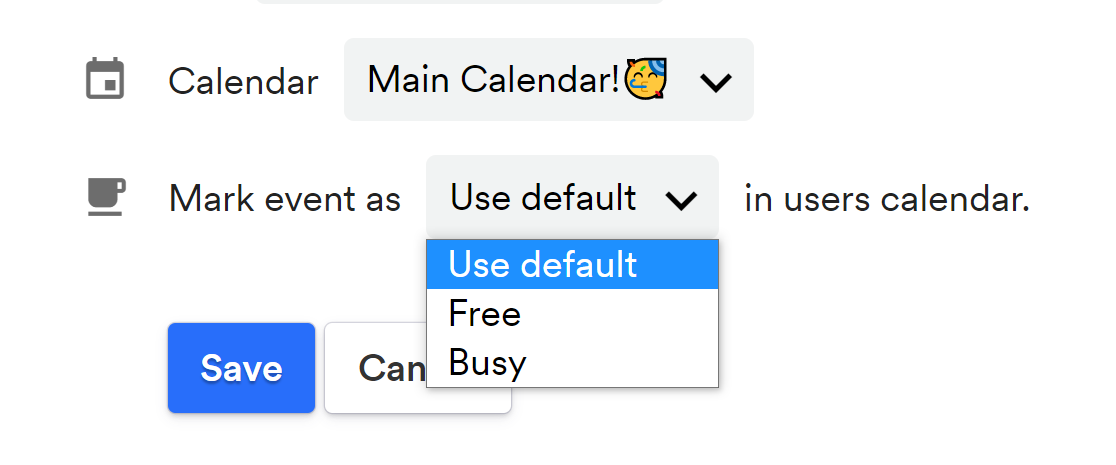
If you're unsure of what to choose, we recommend the Use default setting so your users can choose for themselves.
- Click Save.
In regards to subscription calendars: if you will mark an existing event "Busy" this change will not trigger a sync to your subscribers' calendars. To trigger the calendars to sync you need to edit an additional detail on the event. For example, adding a character to the title or description.
Updated 4 months ago