Edit an Event
This help doc explains how to edit a new or existing event and how to arrive at the editing page.
How to arrive at the editing page
From the dashboard:
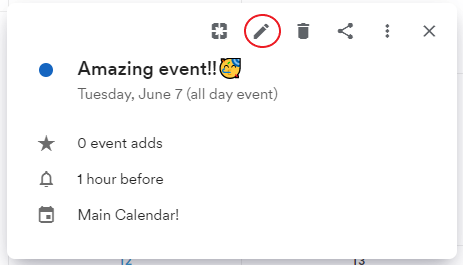
- Select the calendar that contains the event you would like to edit.
- Click on the event and select the edit icon.
This is what the editing page looks like:
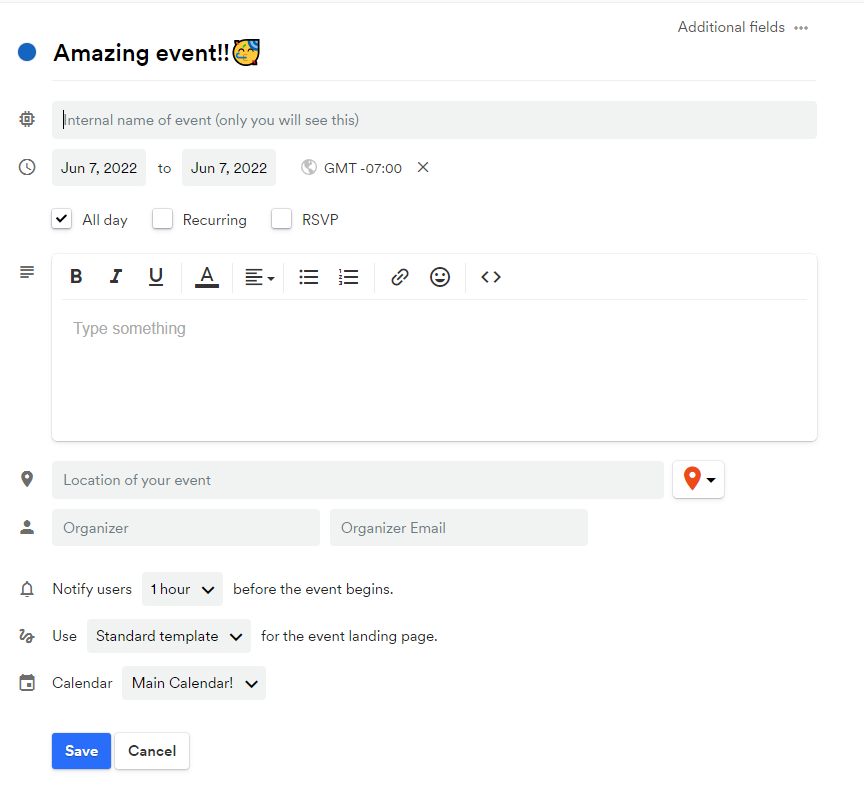
There are different sections that you can edit or update on this page.
Title of your event
Enter the title of the event; this is the event title your users will see when they add it to their calendars. The best titles are brief and informative.
Internal name of event
Only you and your other account users (admin and editors) will see the internal name of the event. This is meant to help with internal organization, for instance, if you have many different events with similar or identical titles.
Date and time
Select the date of the event by clicking on the date box and clicking on the day of the event. Select the time by clicking on each start and end time box and scrolling through the dropdown menu of listed times. Alternatively, click on the box and type in the start and end times of the event. To create an all-day event, click the All day box, and the time options will disappear, so you will only need to select the start and end date of the event.
Timezone
Select the appropriate timezone for the event. If you are unsure of the appropriate timezone, click the timezone box and search based on the location of the event.
Recurring events
Recurring Rules are supported by Apple, Google, Office365, Outlook, and Outlook.com. If you want to support Yahoo Calendar as well, we recommend that you create multiple events (e.g., a series of events) and share the calendar instead.
RSVP
You will have the ability to edit RSVP settings once you have created the event. At that time, you will also be able to create a custom RSVP form if desired.
Event Series
Events created in a series can be changed after creation, and events can be edited/deleted individually.
Description
The description of your event that users will see when you share the event's landing page with them. It will also be included if is added to their calendars.
Location of event
The location of the event can be a link, physical address, custom location, Zoom, Google Meet, GoToMeeting, Microsoft Teams, Hopin, or any other video conference link. If the event does not have a location, you can leave this field blank.
Organizer & organizer email
The contact person for the event. If you add an organizer and an organizer email, that information will appear at the bottom of the event landing page.
Notifications
Push notifications can be sent out by the various calendar applications before the event.
Event Landing Page
The landing page for the event that you can share with your users. You can create and use customized landing pages, or you can simply use the default landing page option that is provided.
Calendar
Select which calendar you'd like the event to be added to. The event will only be added to the calendar you select.
If you are editing an event that lives on a calendar you have shared with subscribers, see here for calendar syncing times.
Busy/Free
Choose whether the time during the event is displayed as Busy or Free on your users' calendars. If you're unsure of what to choose, we recommend the Use default setting so your users can choose for themselves.
Updated 3 months ago