Remove the Interested Option from the RSVP Form
This help doc explains how you can use a custom template to remove the "interested" option from your RSVP events.
Creating a template
-
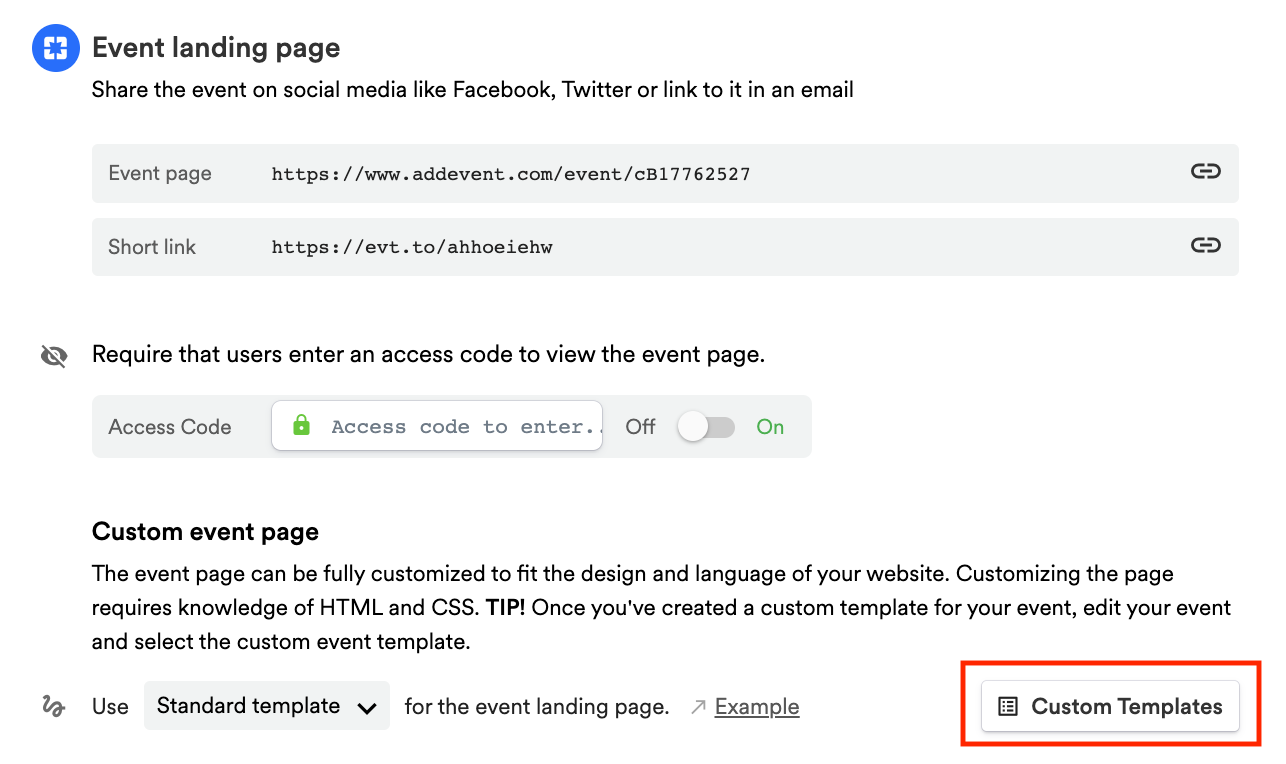
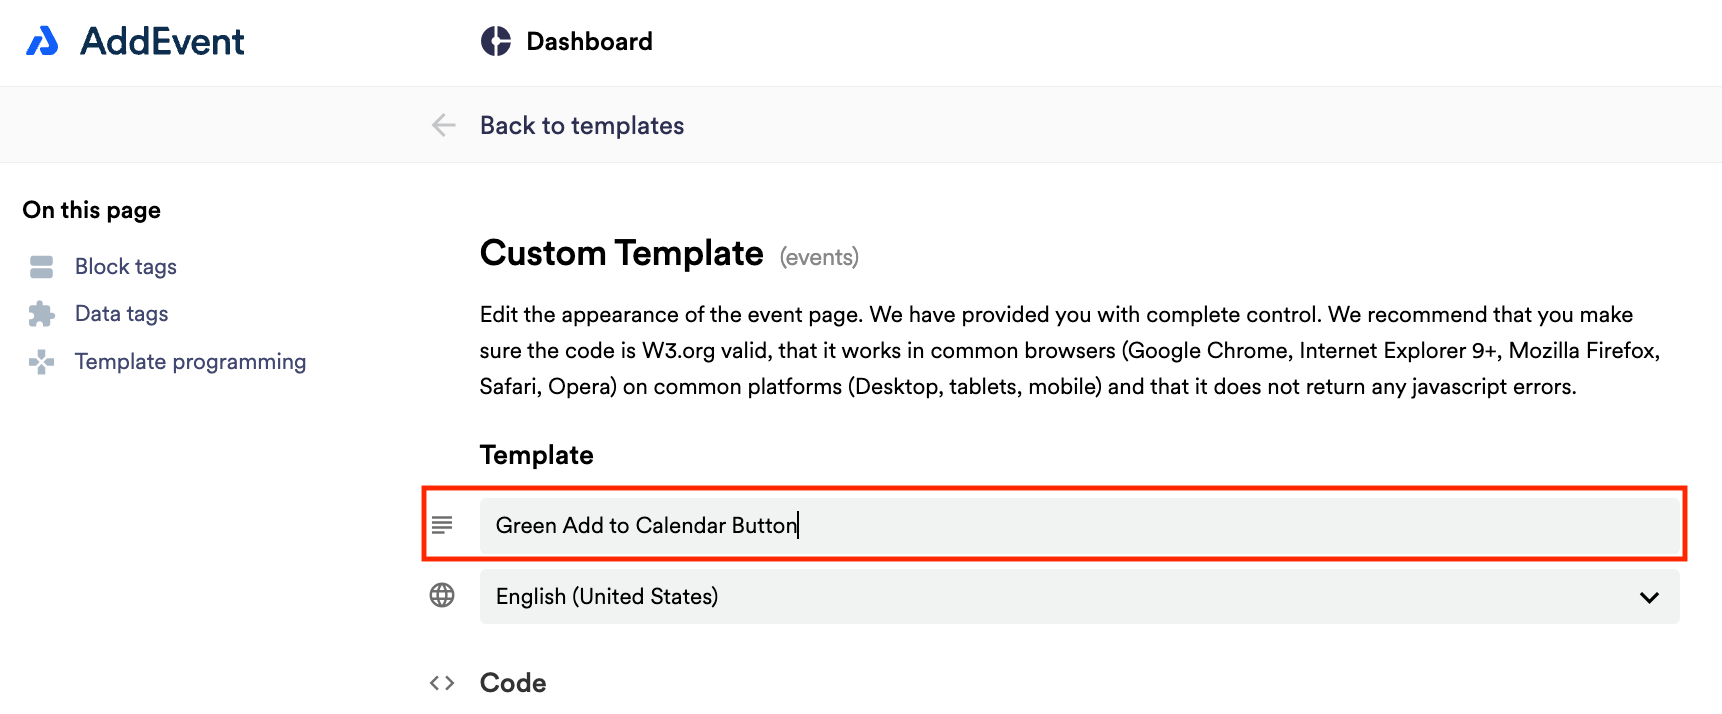
Scroll down to the first sharing method, Event landing page. Create a custom event landing page template by clicking Custom Templates in the app and clicking + New Template. Add a name for the template.
Removing the Interested option
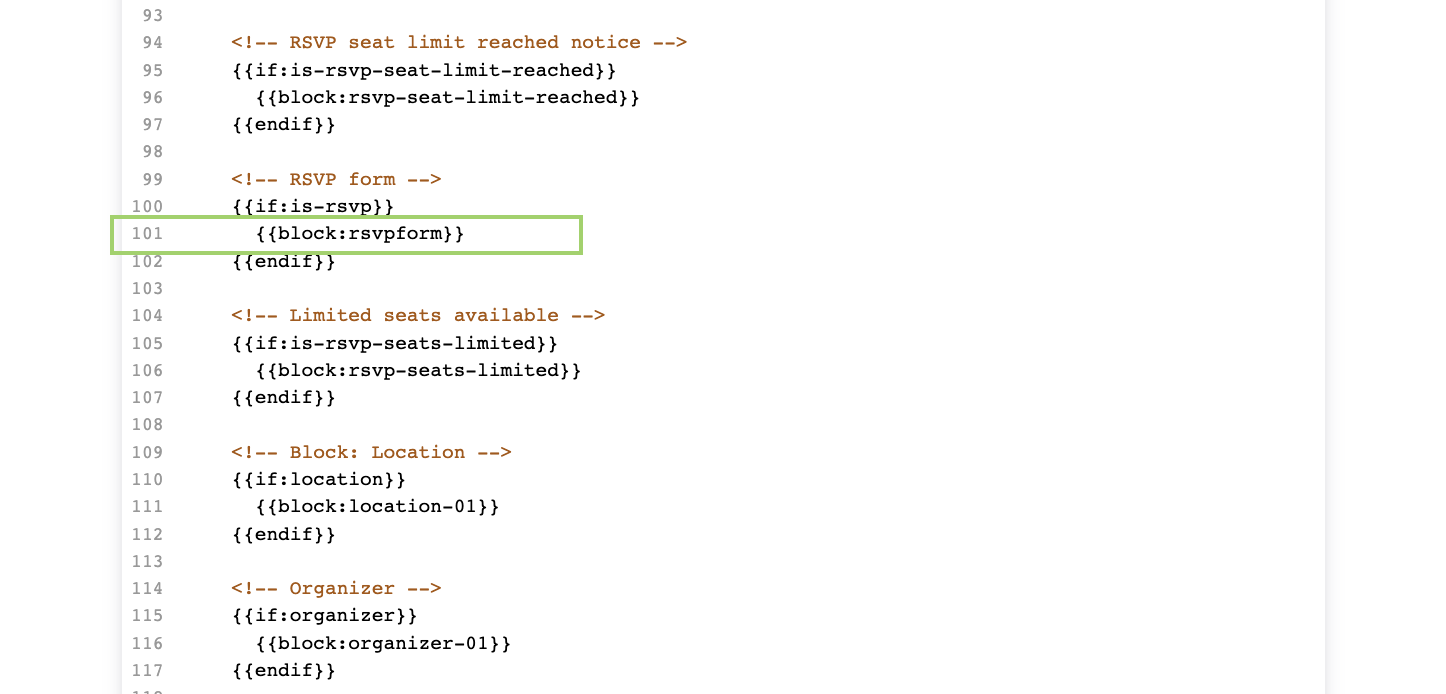
- Once you have a template open and ready to edit, scroll down to the block tag section and copy the block tag for
{{block:rsvpform}}then paste it into line 101 (if you have not previously edited your custom template).
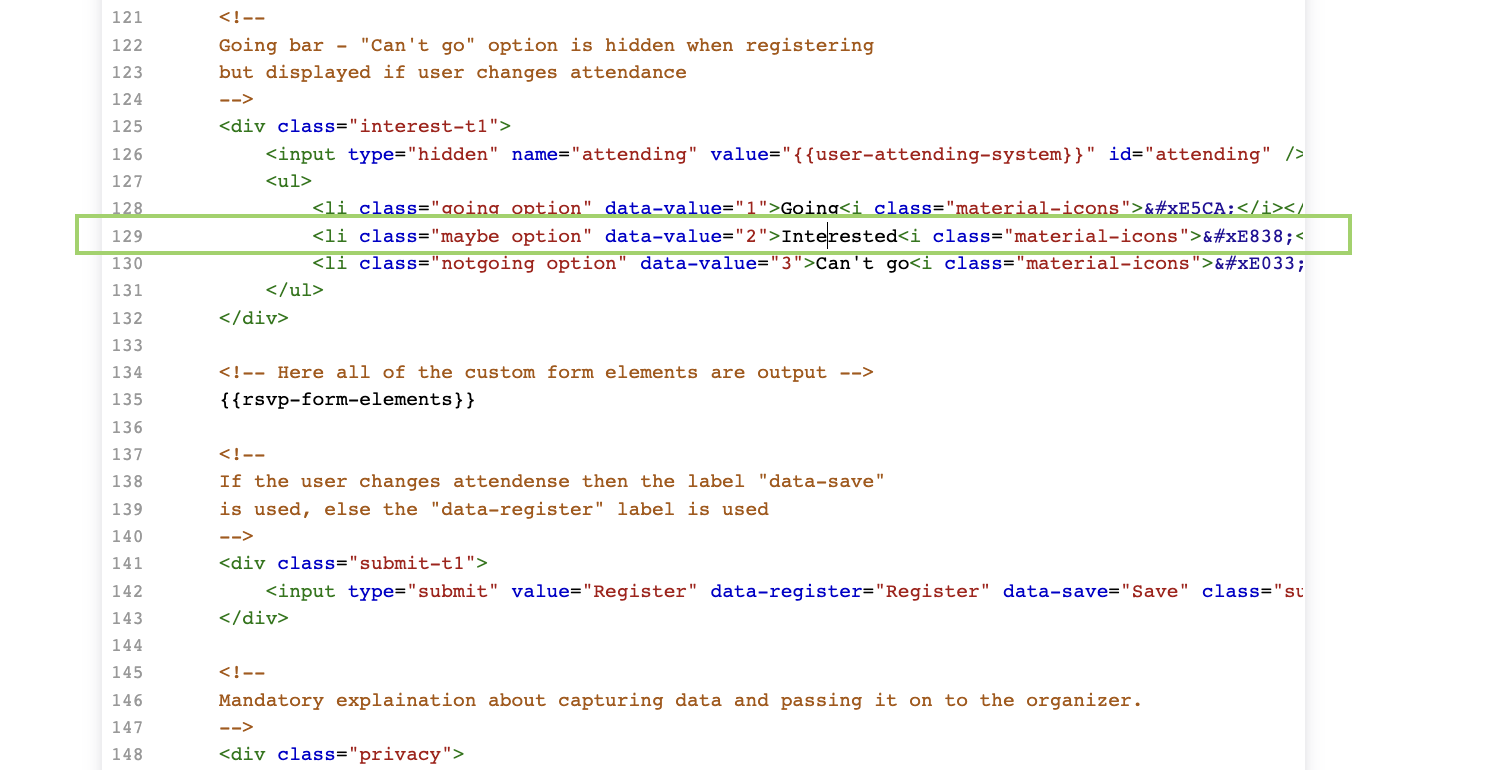
- Once you have pasted the
{{block:rsvpform}}tag, you will remove the Interested line 129 (if you have not previously edited your custom template).
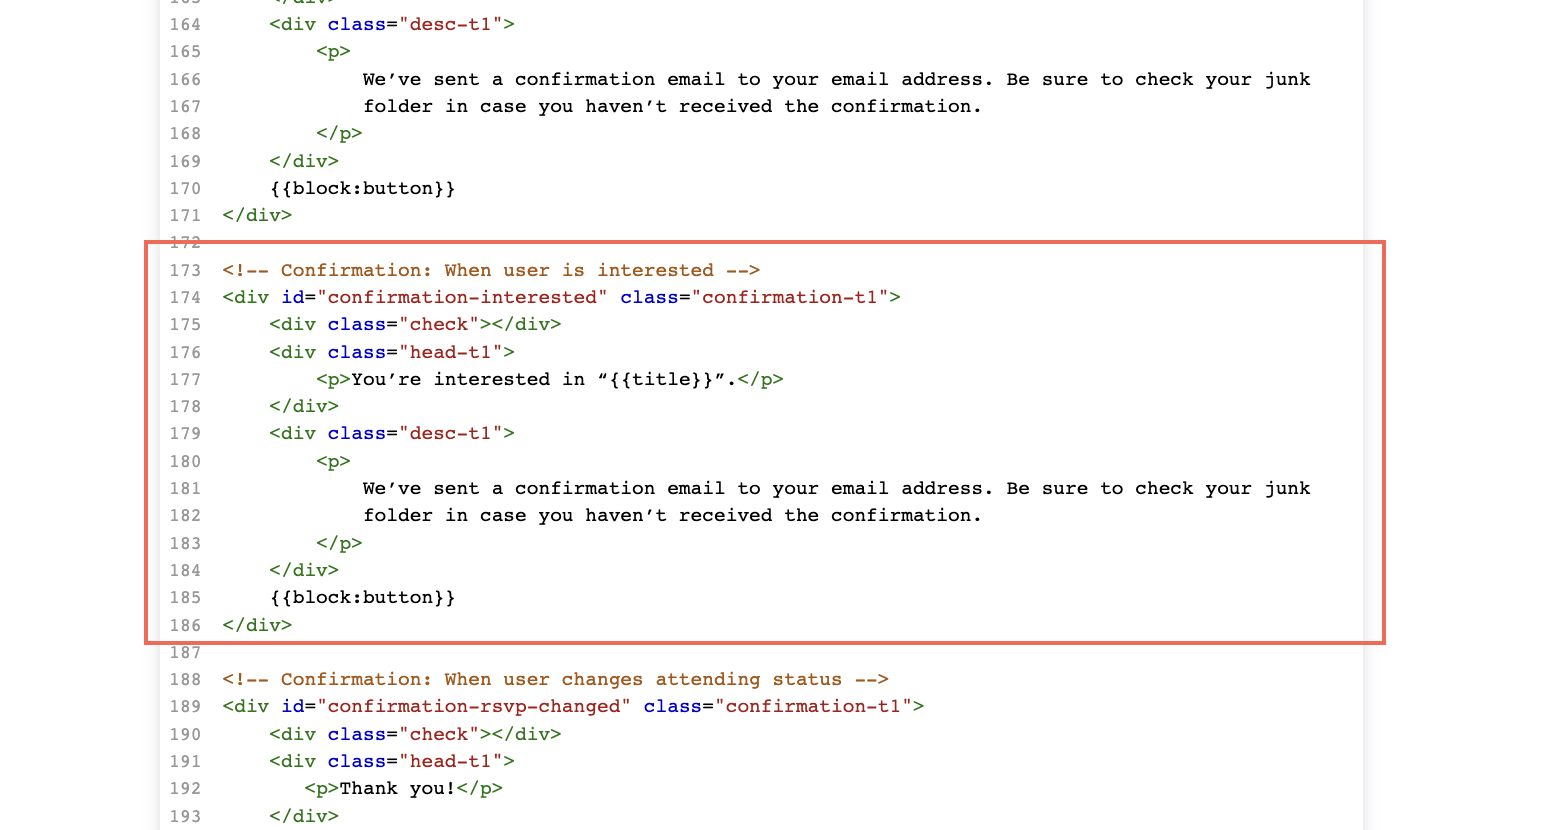
- Then, scroll down to remove the Confirmation: when user is interested section.
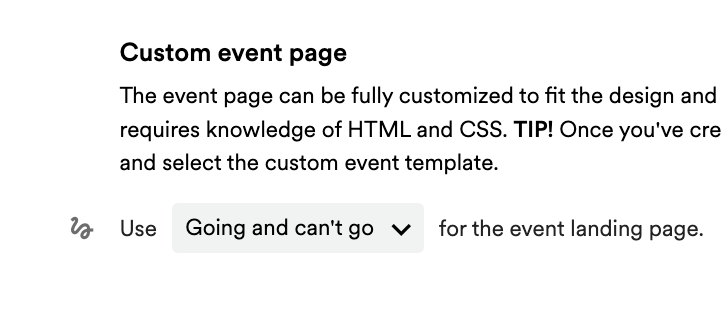
- Name your template if you haven't already, click Save or Createthen assign your template to your event on the event page.
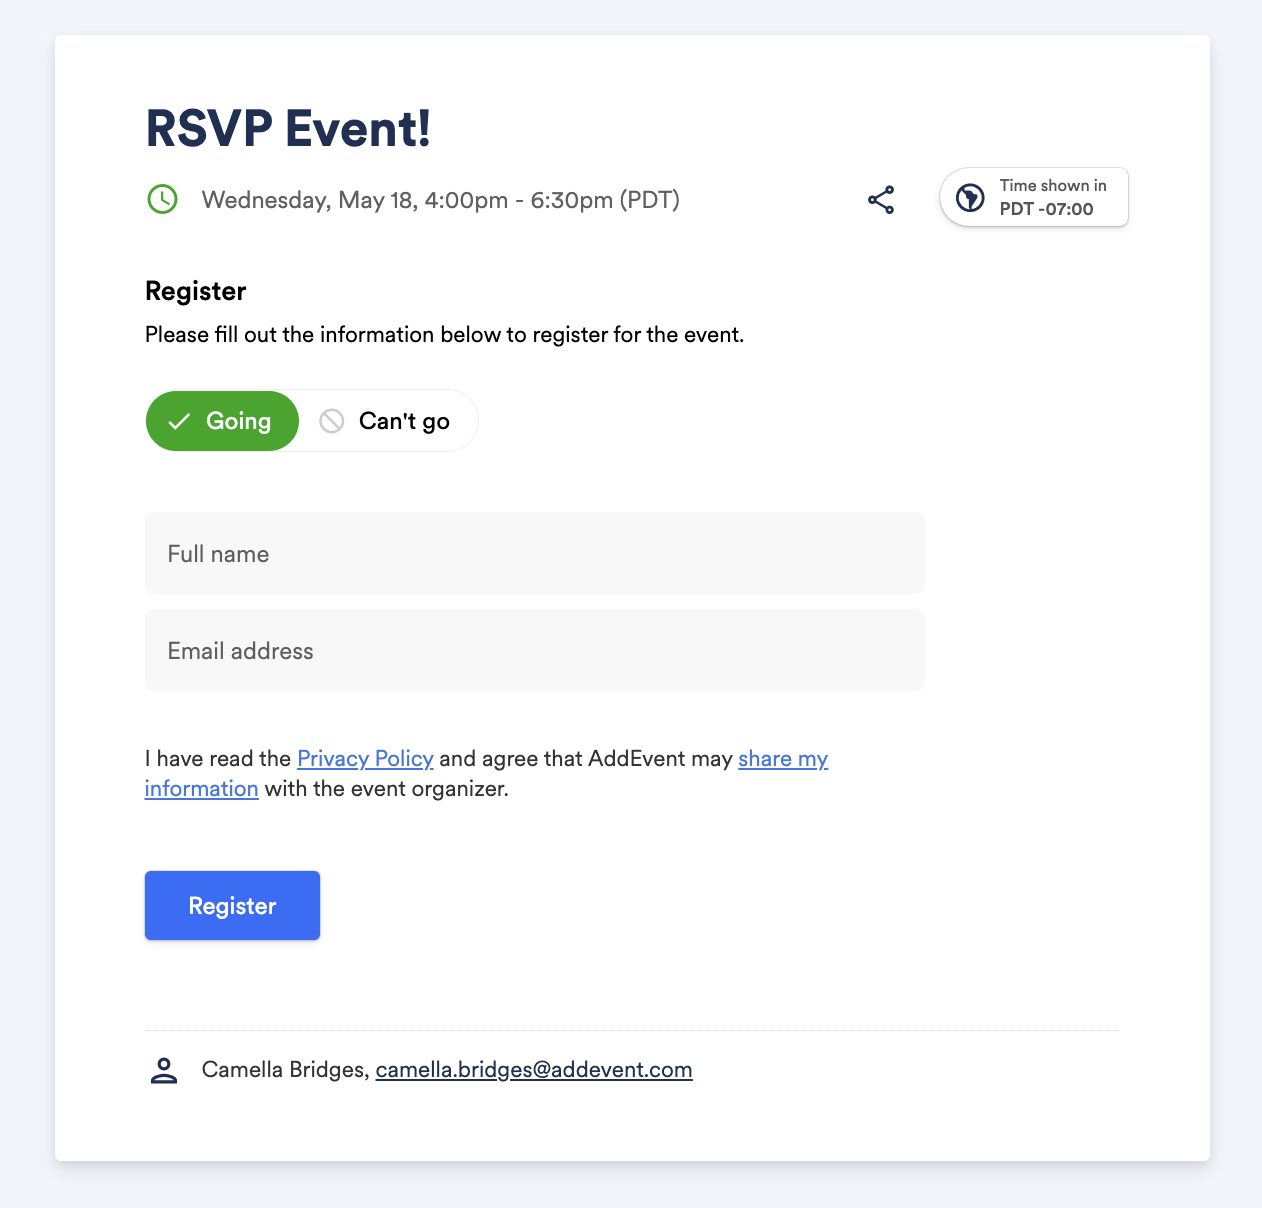
Your event landing page should look like this:
Watch this tutorial!
Updated 4 months ago