Welcome to AddEvent!
You've made it to our Help Center! Take a look through the content we've created for you. This doc runs through the basics, then proceed into the next few docs to get step-by-step instructions on creating and sharing your first events and calendars!
Feel free to sign in and take a look around! We've created a few guides to take you through creating your first creation of events, calendars, inviting users, and more.
Here are some things to get you started:
Create and share
- Create and share your first event!
- Create and share your first calendar!
- Embed events and calendars on your website!
Enhance your experience
Adding Events to Calendars
The dashboard always displays a calendar, whether it’s the Main Calendar that is automatically created for you or one of the calendars you have created. To add an event to a specific calendar, select the desired calendar from the list of calendars on the left-hand side of the dashboard beneath the “+ Create” button, as shown in the image below. This will ensure that the calendar you wish to add an event to is being displayed on the dashboard.

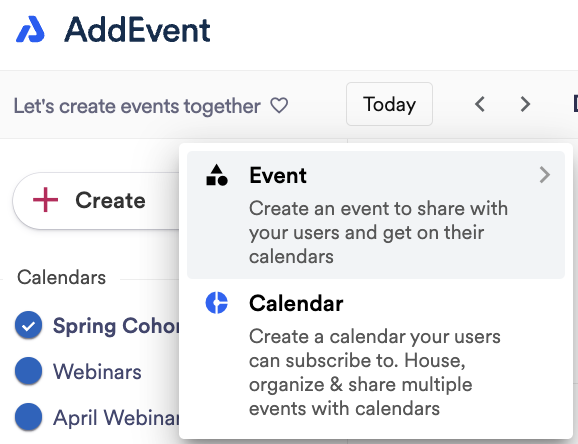
Once your desired calendar is being displayed, simply click + Create, and select Event. You will be taken to an event creation page where you can add all of your event details.
Creating Events
To create an event, navigate to the Dashboard page on AddEvent.com, click + Create , and select Event. You will be taken to an event creation page where you can add all of your event details. Or, you can click directly onto the calendar date and a popup will appear allowing you to enter event details.
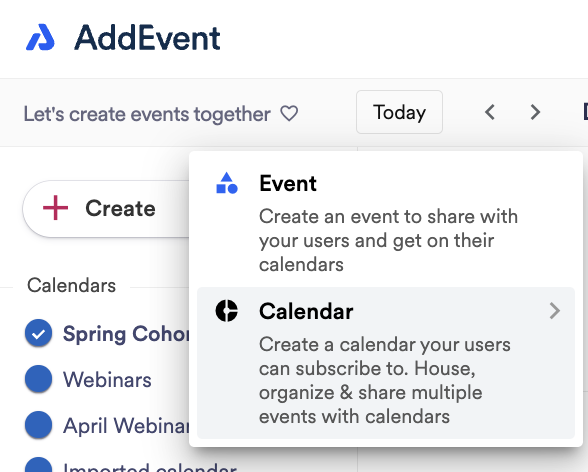
Creating Calendars
To create a calendar, navigate to the ‘Dashboard’ page on AddEvent.com, click + Create, and select Calendar. You will be taken to a calendar creation page on which you will be able to add all of your calendar details.
Title of your calendar
This is the calendar title your users will see when you share your calendar via a calendar landing page or embeddable calendar. The best titles are succinct and informative.
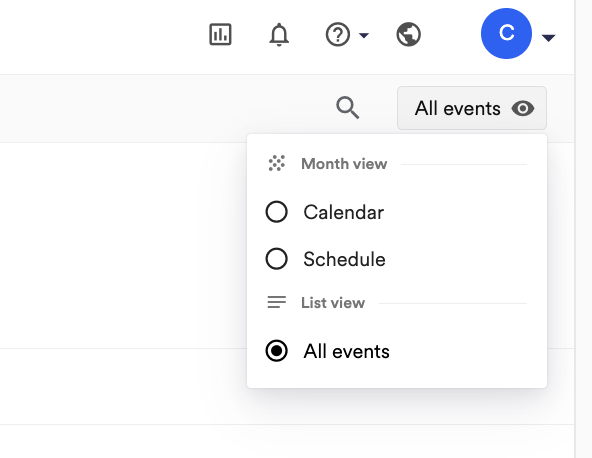
Calendar views
There are multiple views you can choose from to display the events on your calendars in the app.
- Calendar - Month view
- Schedule - Month view
- All events - List view
Account Settings
Clicking into the Account section takes you to Profile information, Account information, Membership and billing, and Payment history.
Domains
To use an add to calendar button on your website, you will need to license (or “whitelist”) the domain on which you wish to use the button. Licensing the domain will allow the button to work on that domain and will allow us to collect usage data for that button. If you fail to license the domain, the button will not work, and you will receive an error message.
Users
Invite users in your organization to join the AddEvent account. There are three different types of roles available: Admin, Editor, and User. Admins have full access to all functionality on AddEvent. Editors have full access except for billing, account management, and user management. Users can create and manage calendars and events but can't create and make changes to templates and RSVP forms.
Updated 4 months ago